

Hi guys! this would be my second article for this Weebly blog and today I would like to teach you how to create your own map section for your weebly contact page.
Why add a map to your contact page?
Well the reason why you should a map to your contact page. It is because, maps helps you navigate your customer to your branch and it is because maps add polish to your contact page.
However, I posted the steps for this tutorial below if you wish to add a full width map section on your weebly contact page.
Step #1 - Open Weebly
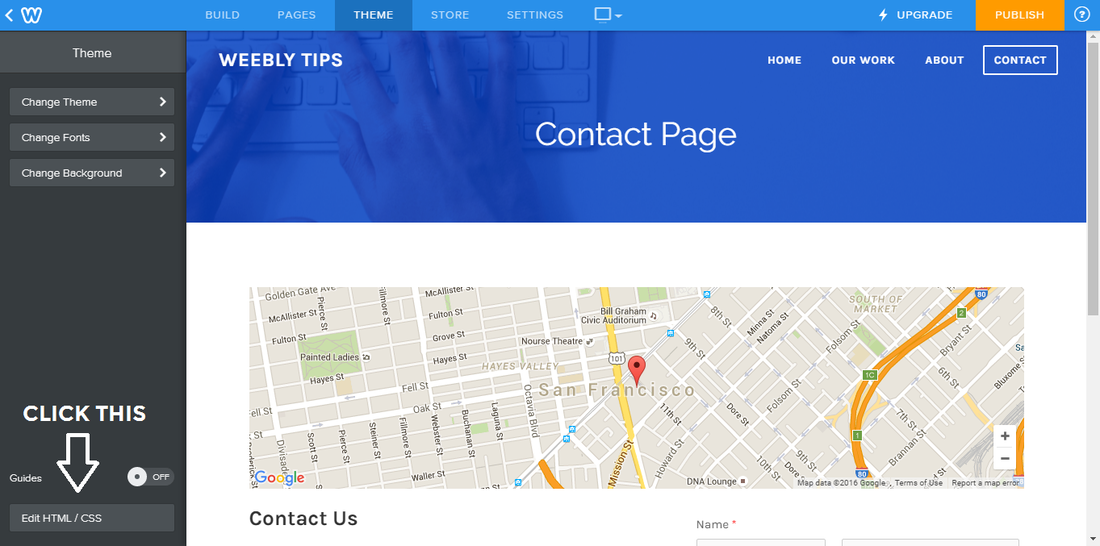
Go to your weebly account and go to the "Design Tab" and locate "Edit HTML/CSS" button.
Step #2 - Duplicate the Layout
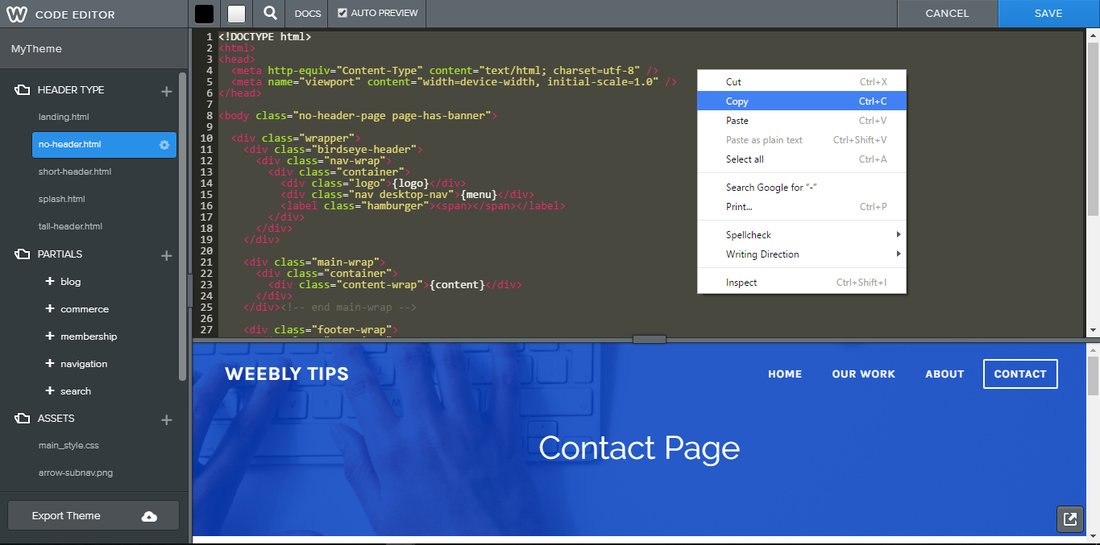
After that, copy the the html layout that you are currently using to your contact page.
Example:
Example:
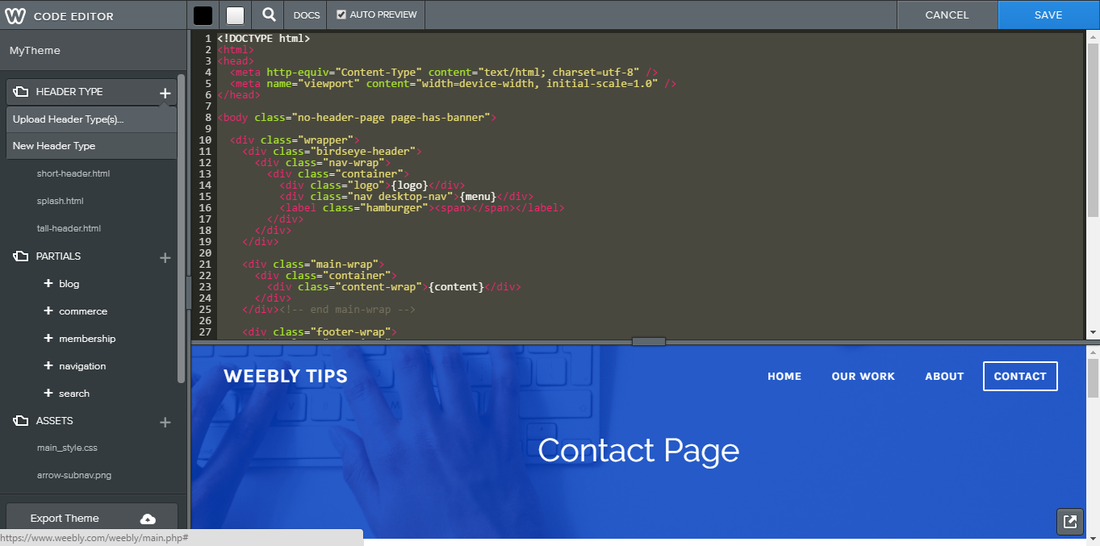
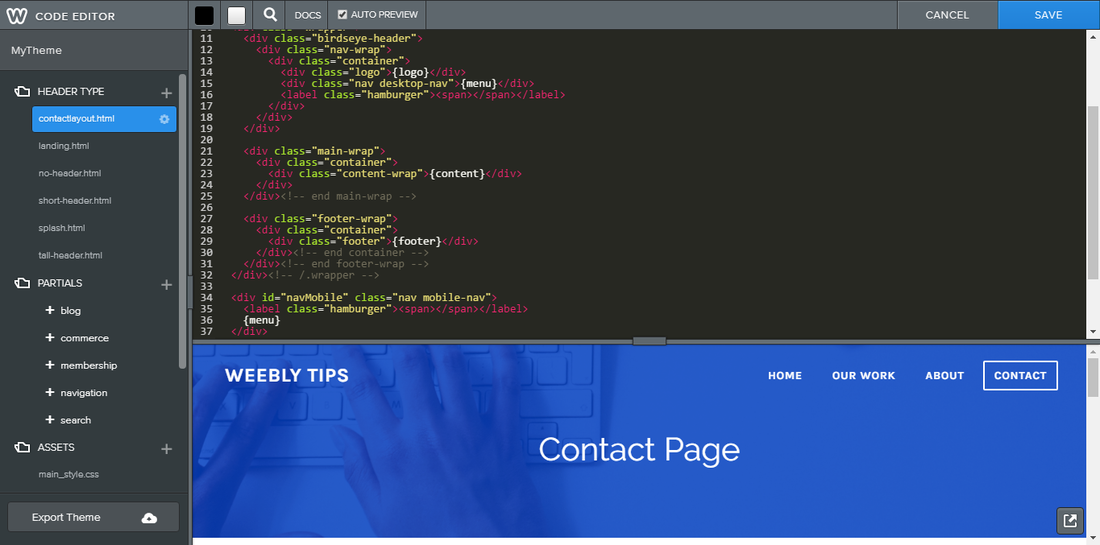
Then create a new layout, I recommend you to name it "contactlayout" so you will be easy to select the layout, then paste the html layout code to your new layout.
Step #3 - Insert the code
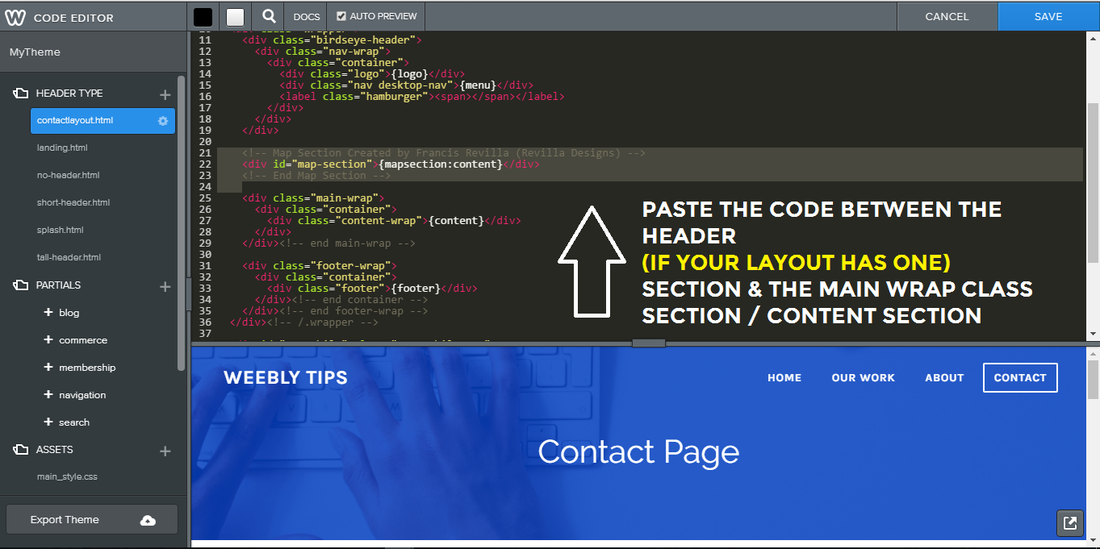
Okay now since you created a new layout, I would like you to copy this code below and insert it your new page layout.
Step #4 - Save the new theme

Okay now since you created a new layout and inserted the code, start saving the theme.
Step #5 - Refresh

Okay now after saving the code, start refreshing your weebly account to ensure that the new code added loads.
Step #5 - Select the new layout
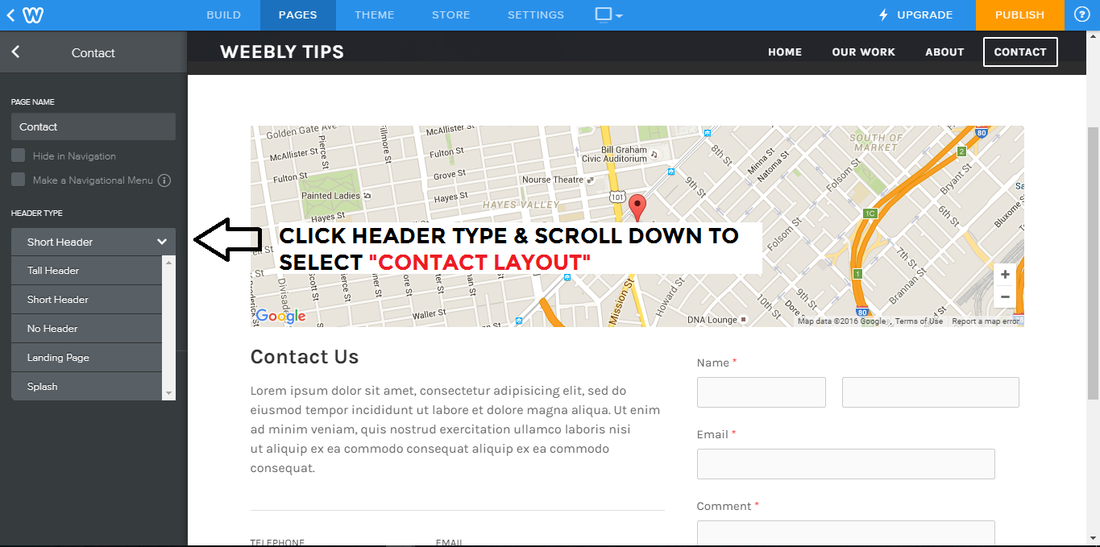
Okay now since you created and save the new layout. Select the new layout you created to your contact page to make changes and so that you can add your map.
Step #6 - Drag & Drop the map
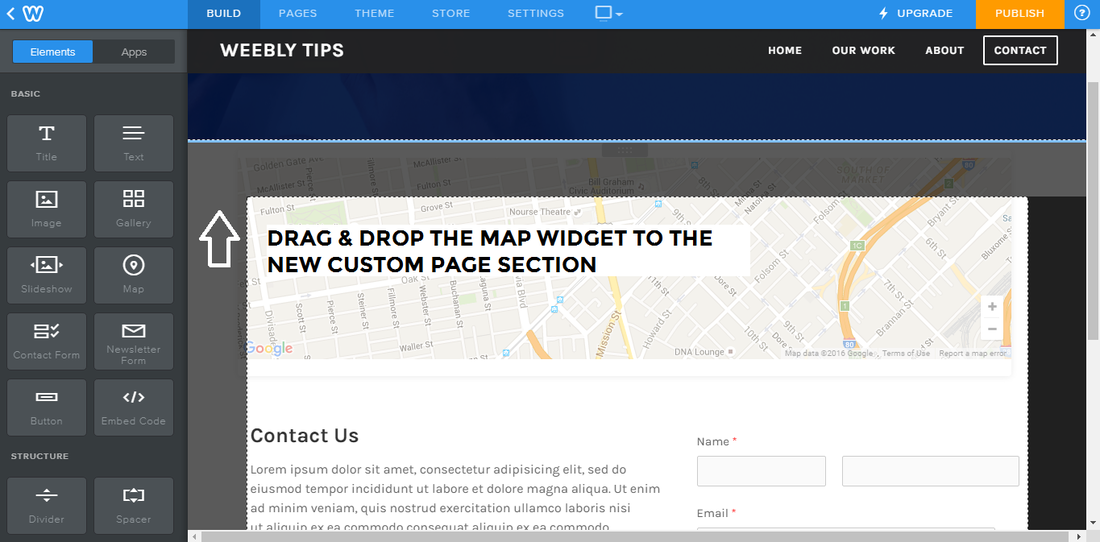
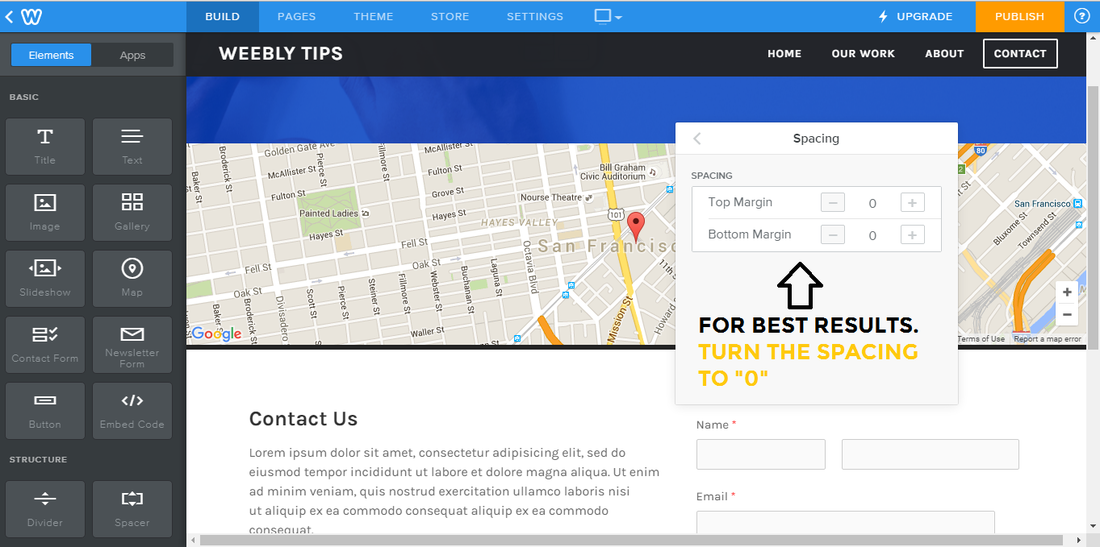
Okay now, go to your contact page again, then drag the map and drop it to your new page section. By the way, be sure that the spacing of your map's top and bottom is set to "0" for best results.
Enjoy and thank you for reading!
If you want more articles like this, well just subscribe to our newsletter below for more
| |
 RSS Feed
